

Why IKEA Installation Is Complex (and How to Make It Simple)
IKEA kitchen cabinets provide excellent value, but assembling and installing them in kitchens, laundry rooms, closets, bathrooms, and pantries—can be a challenge. Whether you’re installing a small or massive IKEA kitchen, following the right process can save you time, money, and frustration.
In this guide, we’ll walk you through the top IKEA installation practices, possible mistakes to watch for, and whether hiring a professional installer is the right choice for you.
Understanding IKEA Installation Services & Options
Before diving into DIY installation, it’s important to understand the options available. IKEA offers its own installation service, which can be helpful for complex projects, but many people opt for third-party IKEA installation experts or tackle the job themselves.
Here’s a quick comparison of your options:
- IKEA Installation Services: Provided through third-party contractors, convenient but may come with long wait times.
- Professional IKEA Installers: Independent specialists often have more flexibility and experience.
- DIY IKEA Installation: Cheapest, but requires time, patience, skill and tools.
Why Choose a Third-Party IKEA Installer?
While IKEA’s own installation service is an option, many homeowners prefer to work with third-party IKEA installation experts. These independent Ikea installation service providers often provide a more personalized, flexible, and accommodating experience. Unlike large corporate installers, small businesses can offer:
- Personalized service – You’re not just another ticket number. Independent installers often take the time to understand your specific needs and concerns.
- More flexible scheduling – IKEA’s installation service may have long wait times, whereas third-party installers can often accommodate your schedule more easily.
- Higher expertise – Many third-party professionals specialize in IKEA products, meaning they’ve installed countless kitchens, closets, and storage systems before.
- Custom modifications – If your space requires adjustments that standard IKEA configurations don’t allow for, an independent installer can tailor solutions to fit your home perfectly.
Choosing the right installer can make a huge difference in the efficiency, quality, and overall experience of your IKEA installation project.
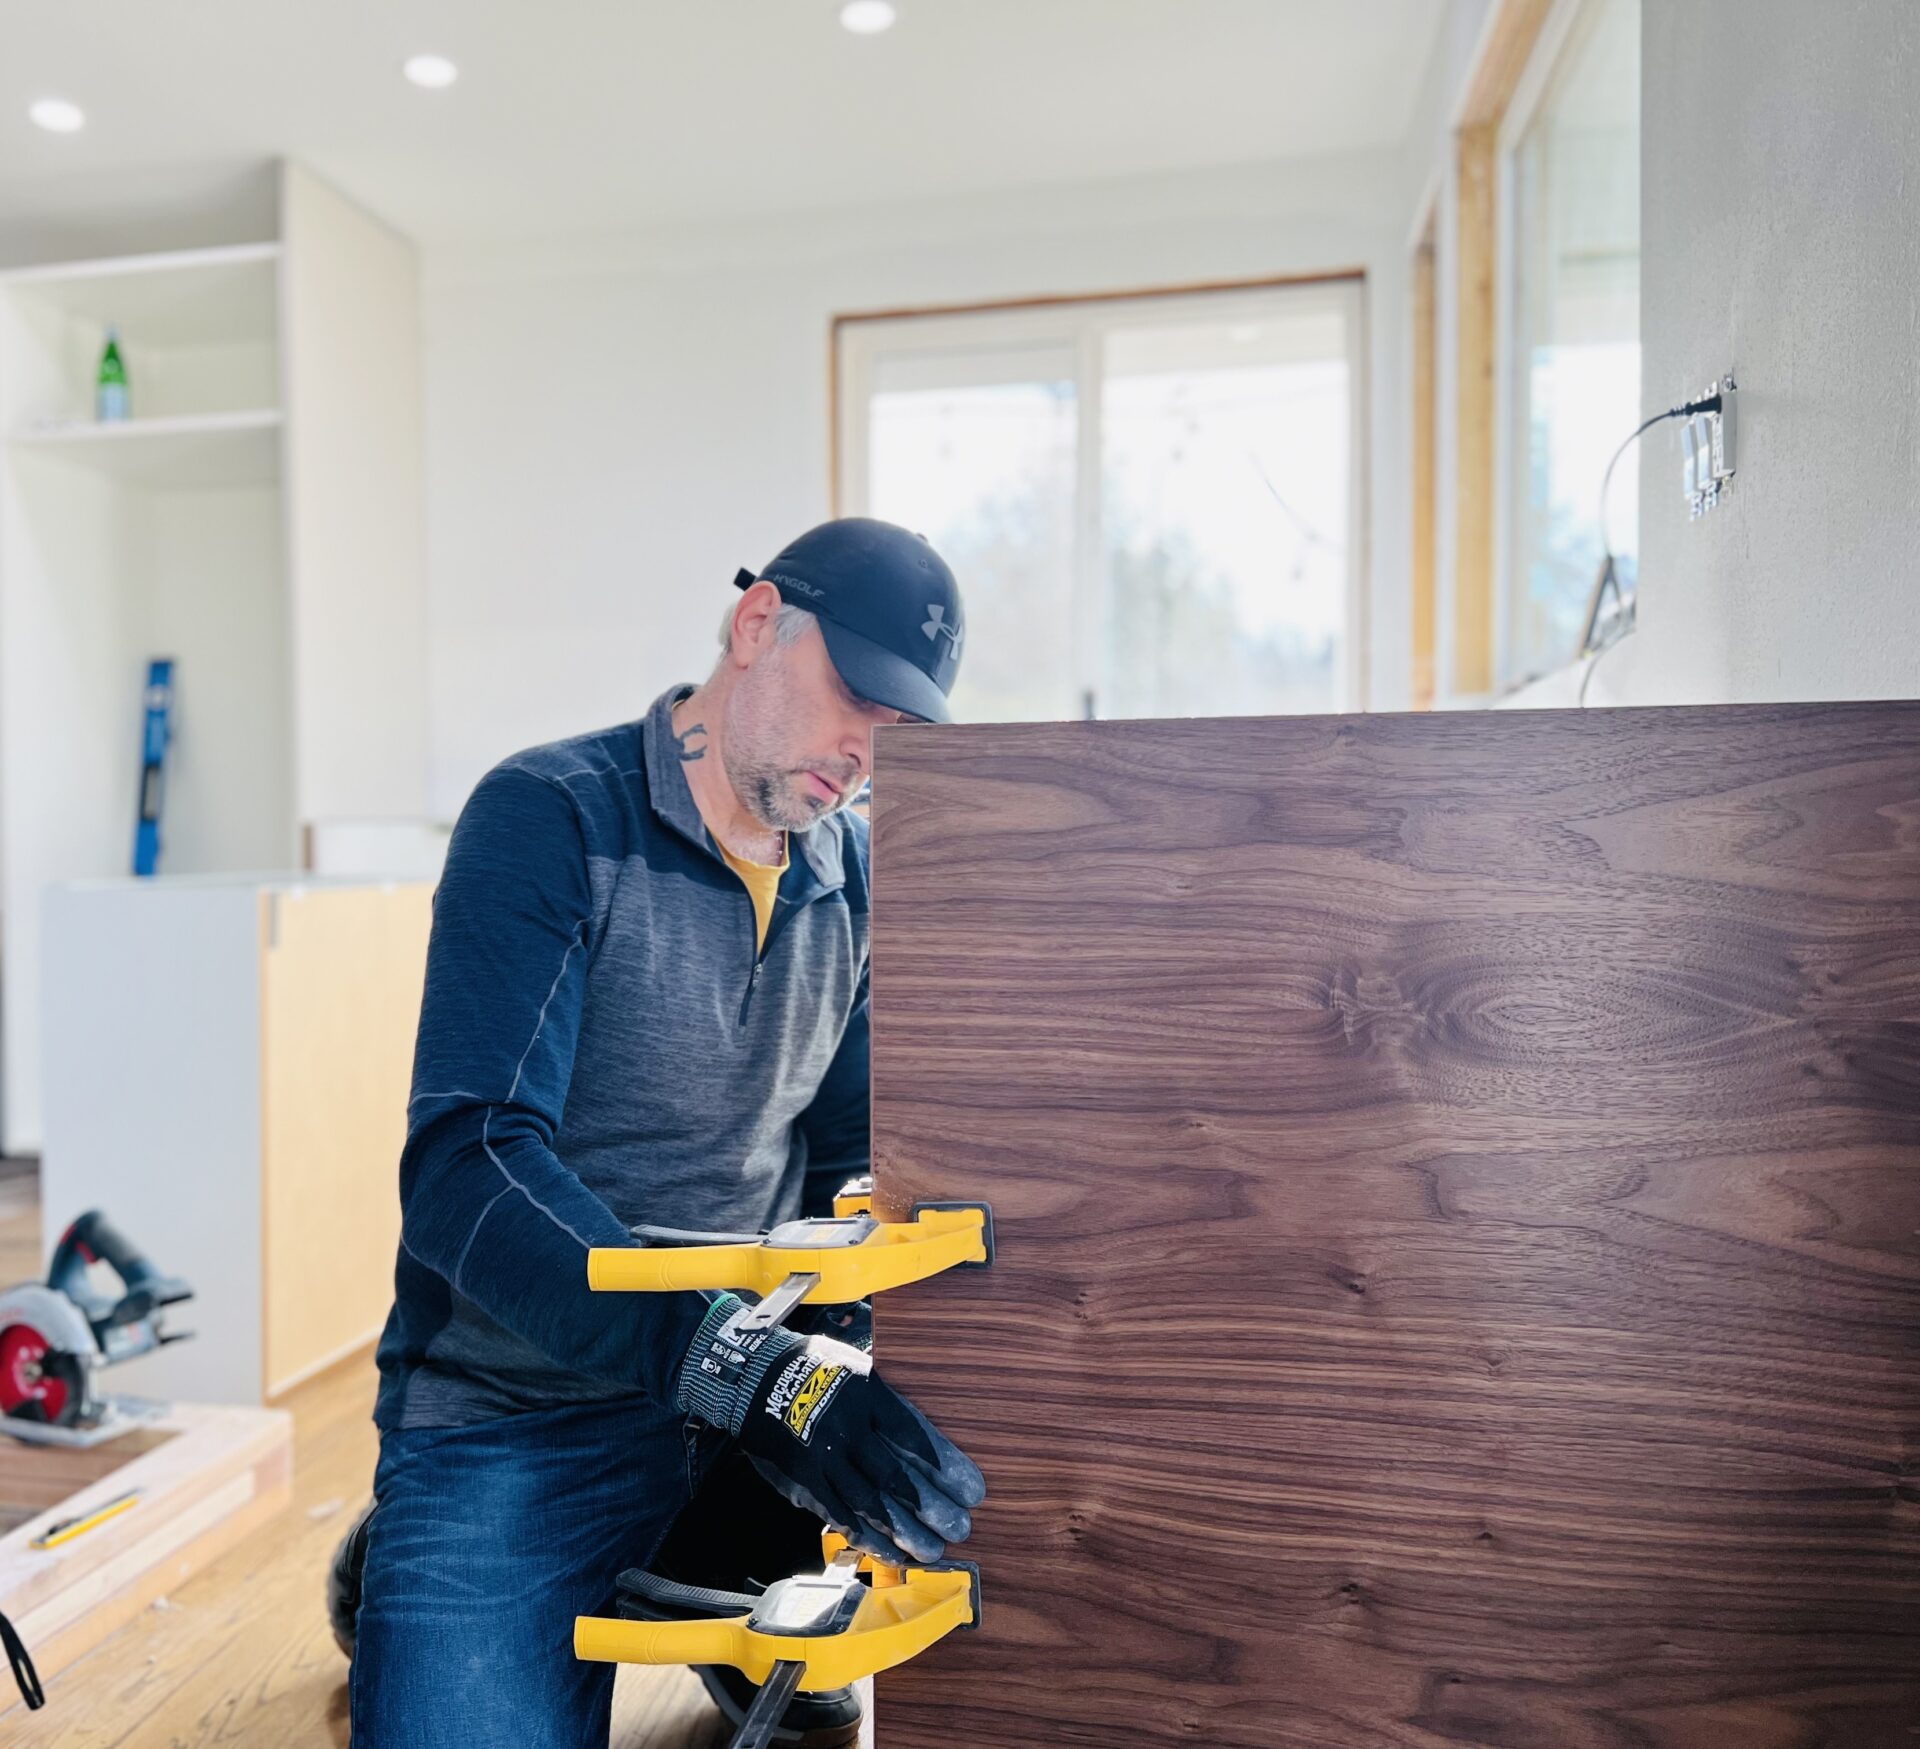
Step-by-Step IKEA Installation Guide
- Plan Your IKEA Installation in Advance
Good planning can save hours of frustration. Before you start assembling your IKEA kitchen, make sure you:
- Double-check your order – Make sure all parts and accessories are included. Sometimes IKEA deliveries miss items, and you don’t want to realize it half way through installation.
- Measure your space – IKEA designs are modular, but accurate measurements are key. Incorrect dimensions can result in gaps, misaligned cabinets, or the need for modifications.
- Gather the right tools – IKEA provides a basic hex key, but you’ll need additional tools like screwdrivers, power drills, a level, a rubber mallet, and measuring tape.
- Read the instructions thoroughly – IKEA manuals are visual, so take time to understand each step before you start assembling. Watching video tutorials can also be beneficial.
Necessary Step: Use the IKEA Planning Tool to visualize your kitchen, laundry room, closet, bathroom, or pantry layout before starting the installation.

- Unpack and Organize Everything
One of the most common mistakes is jumping into assembly without organizing your parts. Before you begin:
- Sort screws, bolts, and fasteners into marked containers.
- Lay out the boards and panels in an open workspace.
- Keep small parts in a safe spot so you don’t lose them.
- Inspect all pieces for damage. It’s easier to replace a damaged part before you start assembling than after you’ve partially built your cabinet, drawer or carousel.
Most Common Missing IKEA Parts
Customers frequently report missing screws, dowels, or hinges in their IKEA orders. If you’re missing parts, visit an IKEA store or contact their customer service for replacements.
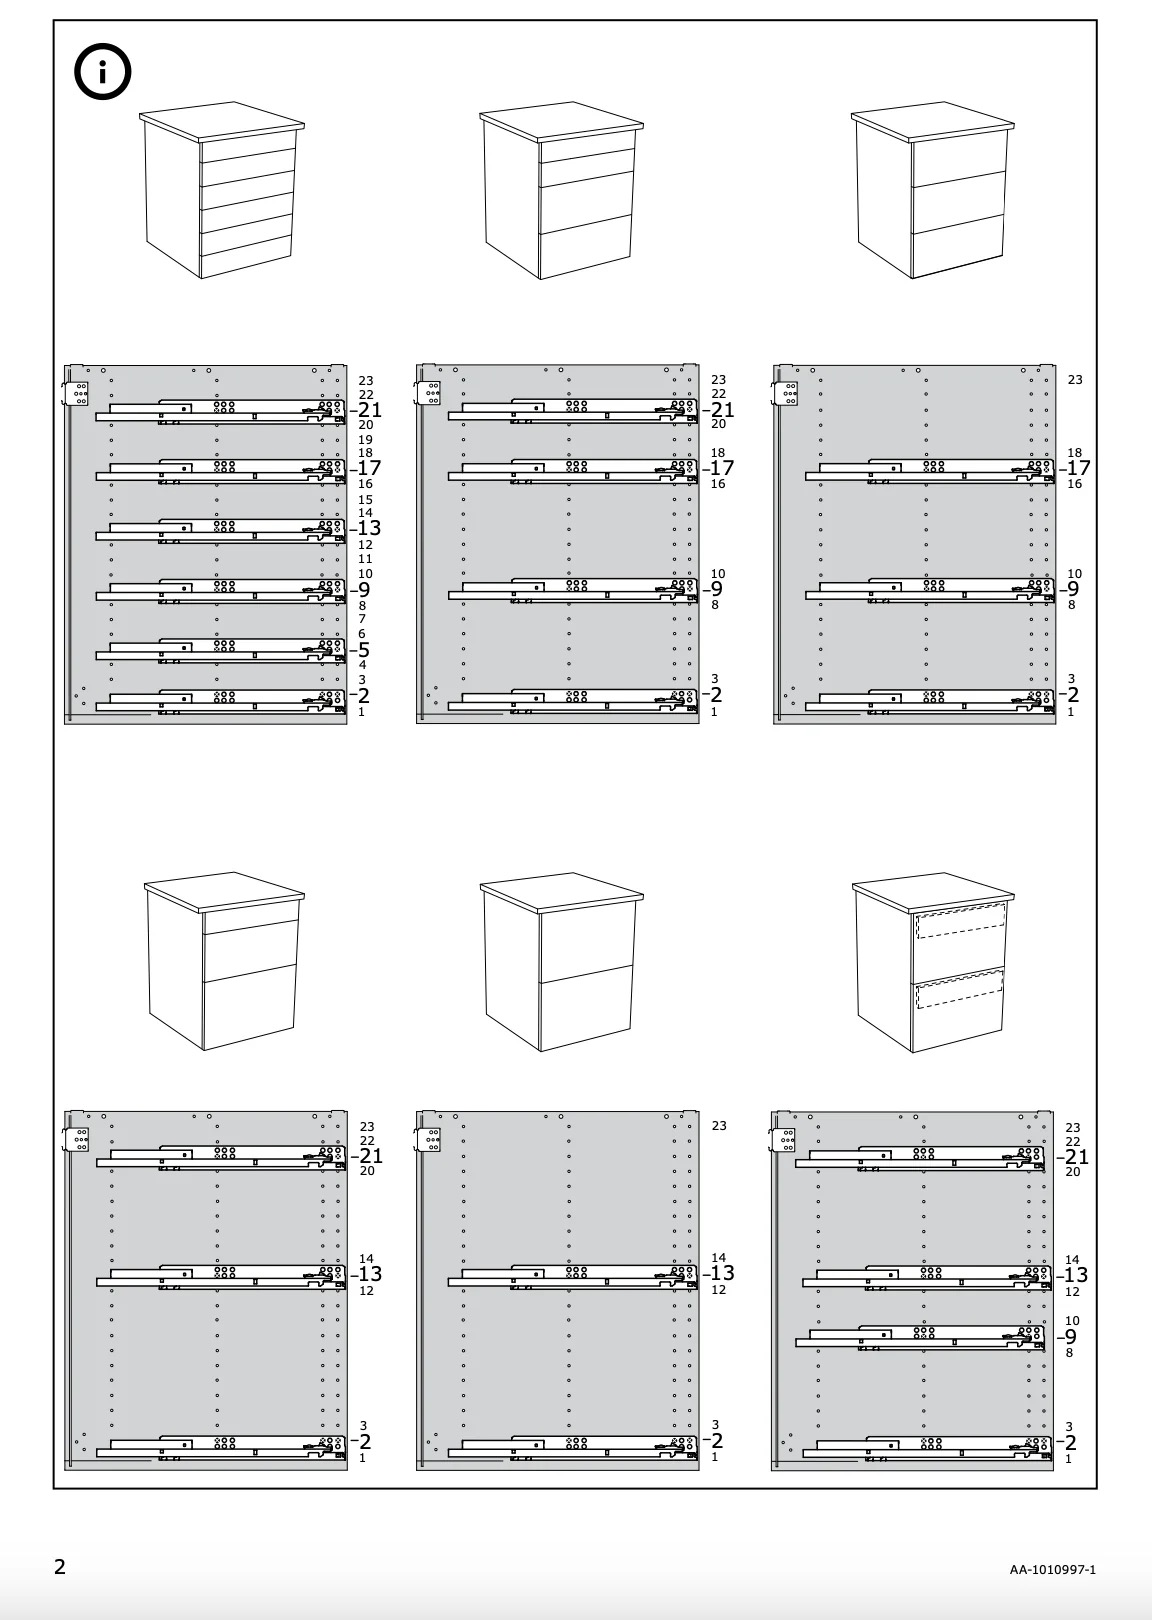
- Follow the IKEA Assembly Instructions Carefully
When assembling IKEA furniture, patience is key. Here are some expert tips:
- Work in stages – Don’t rush through steps; follow the IKEA manual precisely.
- Use the right fasteners – Some parts look alike but they are not interchangeable. Double-check before attaching screws or wooden dowels.
- Check for level and alignment – This is especially important for all spaces: kitchen, laundry room, closet, and bathroom or anywhere Ikea cabinets will be installed.
- Don’t overtighten screws – IKEA furniture is often made of particleboard, which can crack if too much pressure is applied.
Bonus Tip: How to Make IKEA Furniture More Sturdy
- Use wood glue on cabinet boxes for a stronger hold.
- Create and secure to the floor a sturdy wood base from sx4 studs for islands.
- Replace IKEA fasteners with higher-quality hardware if assembling heavy-use furniture.
- Secure Cabinets and Heavy Items Properly
For IKEA kitchen, laundry room, closet, and pantry installations, it’s crucial to:
- Install a support rail system to keep cabinets level.
- Secure tall cabinets to wall studs for stability.
- Leave enough clearance for appliances and countertop installation.
- Use spacers and shims to ensure perfect alignment between cabinets and walls.
- Adjust cabinet doors and drawers carefully to ensure even gaps.
Common IKEA Installation Issues & Fixes
- Problem: Uneven cabinets – Fix: Adjust support rails and level each cabinet before securing.
- Problem: Drawers don’t slide smoothly – Fix: Ensure tracks are properly aligned and screws aren’t overtightened.
- Problem: Gaps between cabinets – Fix: Use filler panels for a seamless look.
Key Assembly Tips from IKEA Manuals
IKEA installation manuals emphasize a structured approach to ensure a smooth process:
- Organize all components before starting – Lay out screws, panels, and hardware to streamline assembly.
- Secure furniture to the wall – Tall cabinets and bookshelves must be anchored for safety.
- Use proper fasteners for your wall type – Standard screws may not work for drywall or concrete; select appropriate anchors.
- Ensure precise leveling – Particularly for kitchen and closet installations, even minor misalignments can affect functionality.
These best practices, directly from IKEA’s own guidelines, will help ensure stability, safety, and longevity for your installations.
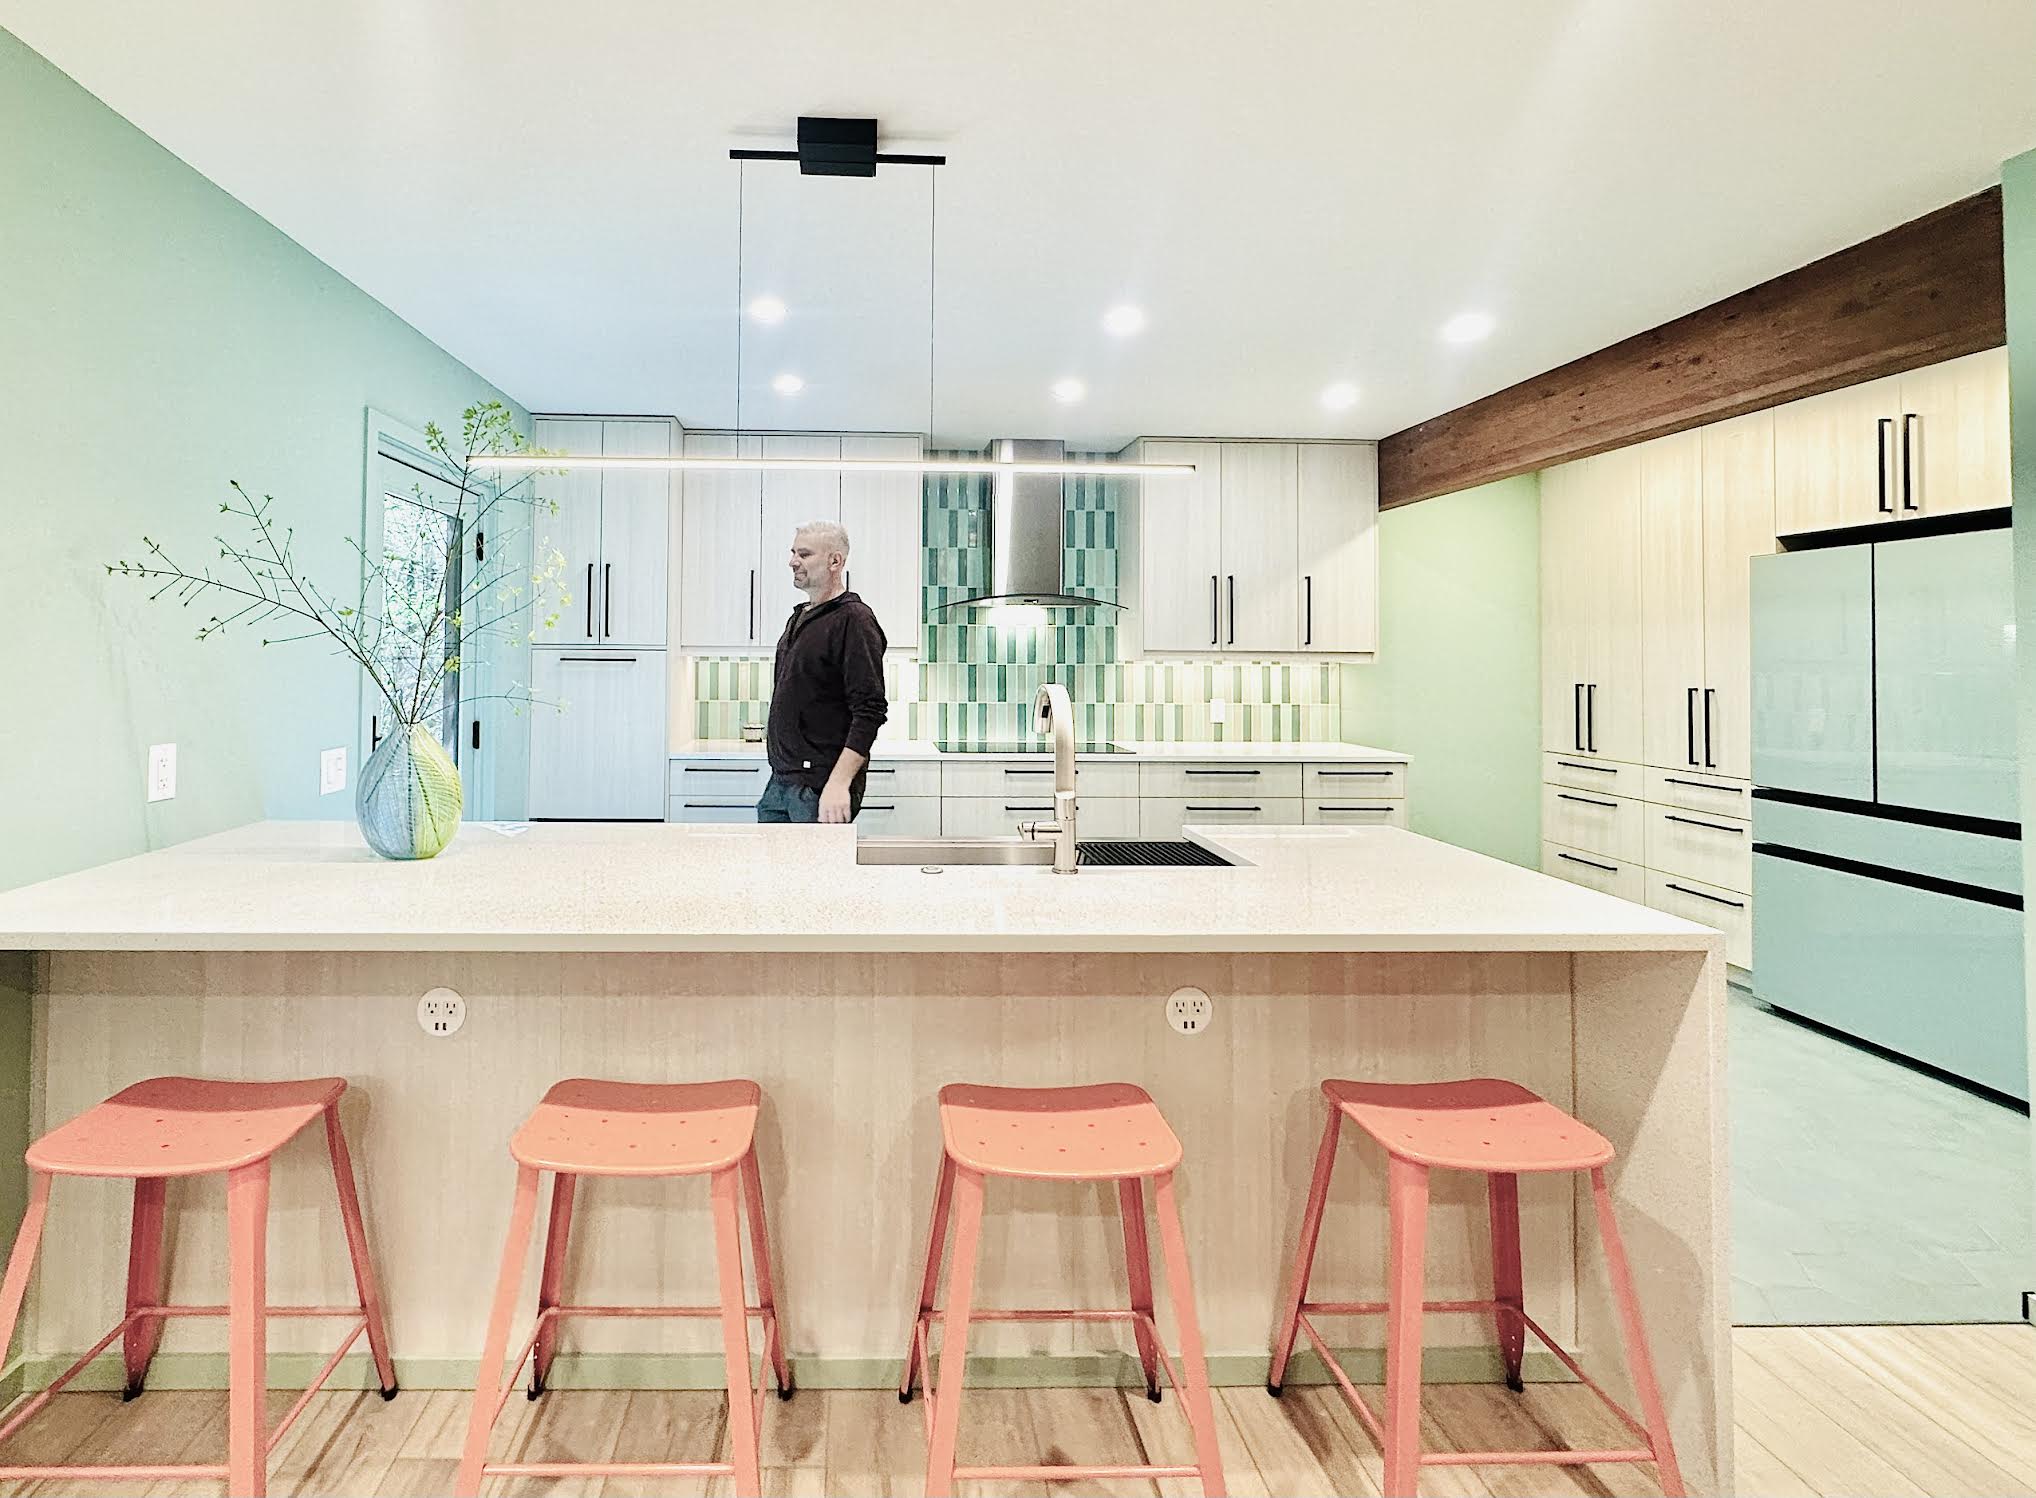
Why Choose Hive Kitchen Remodeling for Your IKEA Installation?
At Hive Kitchen Remodeling, we specialize in full-scale renovation. We are using this customer favorite – IKEA cabinets in kitchens, closet, bathrooms, entryways, the sky is the limit to one’s imagination. We take the guesswork out of assembly and installation, ensuring a flawless and functional setup. Our team offers:
- Professional IKEA cabinet and furniture installation – Avoid common DIY mistakes with expert-level precision.
- Custom modifications – Need adjustments to make IKEA cabinets fit your unique space? We can tailor solutions to meet your needs.
- Full kitchen remodeling services – We don’t just install cabinets; we provide complete kitchen remodels, including countertops, plumbing, lighting, and flooring.
- Hassle-free service – From planning and ordering to assembly and finishing touches, we handle every step of the process.
How Hive Kitchen Remodeling Can Help with Your IKEA Project
If you’re installing an IKEA kitchen, laundry room, bathroom, pantry, or closet system, our experienced team ensures precision, durability, and a quality finish. From a simple installation to a full-scale renovation, we bring your vision to life!
Should You Hire a Professional IKEA Installer?
If you’re dealing with a large kitchen installation, built-ins, or complex furniture, hiring a professional can save you time and stress. Hive Kitchen Remodeling ensures:
- Accurate leveling and alignment.
- Secure attachment of each cabinet to the wall and of each other
- Custom modifications, if needed.
How Much Does IKEA Installation Cost?
- Cabinet assembly and installation: $99 – $350 per piece.
- Complete kitchen installation: $3,000 – $6,000 depending on complexity and size of the kitchen.
- Custom carpentry: Additional charges may apply.
Hiring a pro can be worth it if you lack time, tools, or confidence in tackling a complex IKEA build.
Final Thoughts on IKEA Installation
While IKEA installations can be done DIY, proper planning, patience, and the right tools make all the difference. Whether you tackle it yourself or hire a pro, following these best practices ensures a flawless setup.
For a hassle-free IKEA installation, Hive Kitchen Remodeling is here to serve you. Contact us today for a professional and fast service tailored to your needs!


